Showing posts with label Tutorial. Show all posts

March 8, 2013

Stick Pin Tutorial and Give Away !!!

Hi Everyone !

The first Friday of each month, our Senior Designer, Anitra will be posting a tutorial for you !  Anitra is so accomplished, you will not want to miss even one.

The March tutorial is a video on making stick pins.


AND


Please comment on her tutorial on this post for a 
chance to win some of her gorgeous pins !!
 
Yup, one lucky commenter will receive a wee bundle of pins, don't miss out !!

Be sure to stop in at her blog, Stamping While They Sleep, to see all of her projects, and say hello !

June 30, 2011

Thursday Tutorial: Summer Re-Runs with Kristina Harmon

Like we'd mentioned before, summer is upon us in the United States and we're arranging our schedules and Design Team commitments for the summer months (so that the Design Team can have a bit of a break now and again).... so just like on television, we'll be playing some "re-runs" during the summer and until our new Design Team starts in September. 

These re-runs are actually tutorials that the lovely Kristina Harmon shared over at The Kraft Journal earlier this year... but in case our followers here at Papercraft Star missed them, we are going to play a few for you on our Thursday tutorial days!  We hope you enjoy them!


Don't forget, there is still time to join this week's challenge here at Papercraft Star.  You can find our current challenge and enter by following the Current Challenge link located in the upper right hand sidebar of the blog!

June 16, 2011

Thursday's Tutorial from Regan !!

Hi, Regan here! Today is tutorial Thursday and I have a fun tutorial to share with you.

We all use glue dots, tacky tape or tissue tape on our scrappy projects. In this tutorial I will show you how to take the cardboard circle base for your glue dots or tissue tape and turn it in to a cute bracelet!


This is what you will need....
Cardboard circle from used glue dots or tissue tape.
Ribbon of your choice (4 pieces about 1 1/2 long, 1 7-8 inch piece and 1 46 inch piece) These measurements will vary by the size of your cardboard or bracelet piece.
Scissors
Hot Glue Gun and a couple glue sticks
Embellishment(s) of your choice (optional)

Let's get started...
(Click photo to see larger view.)


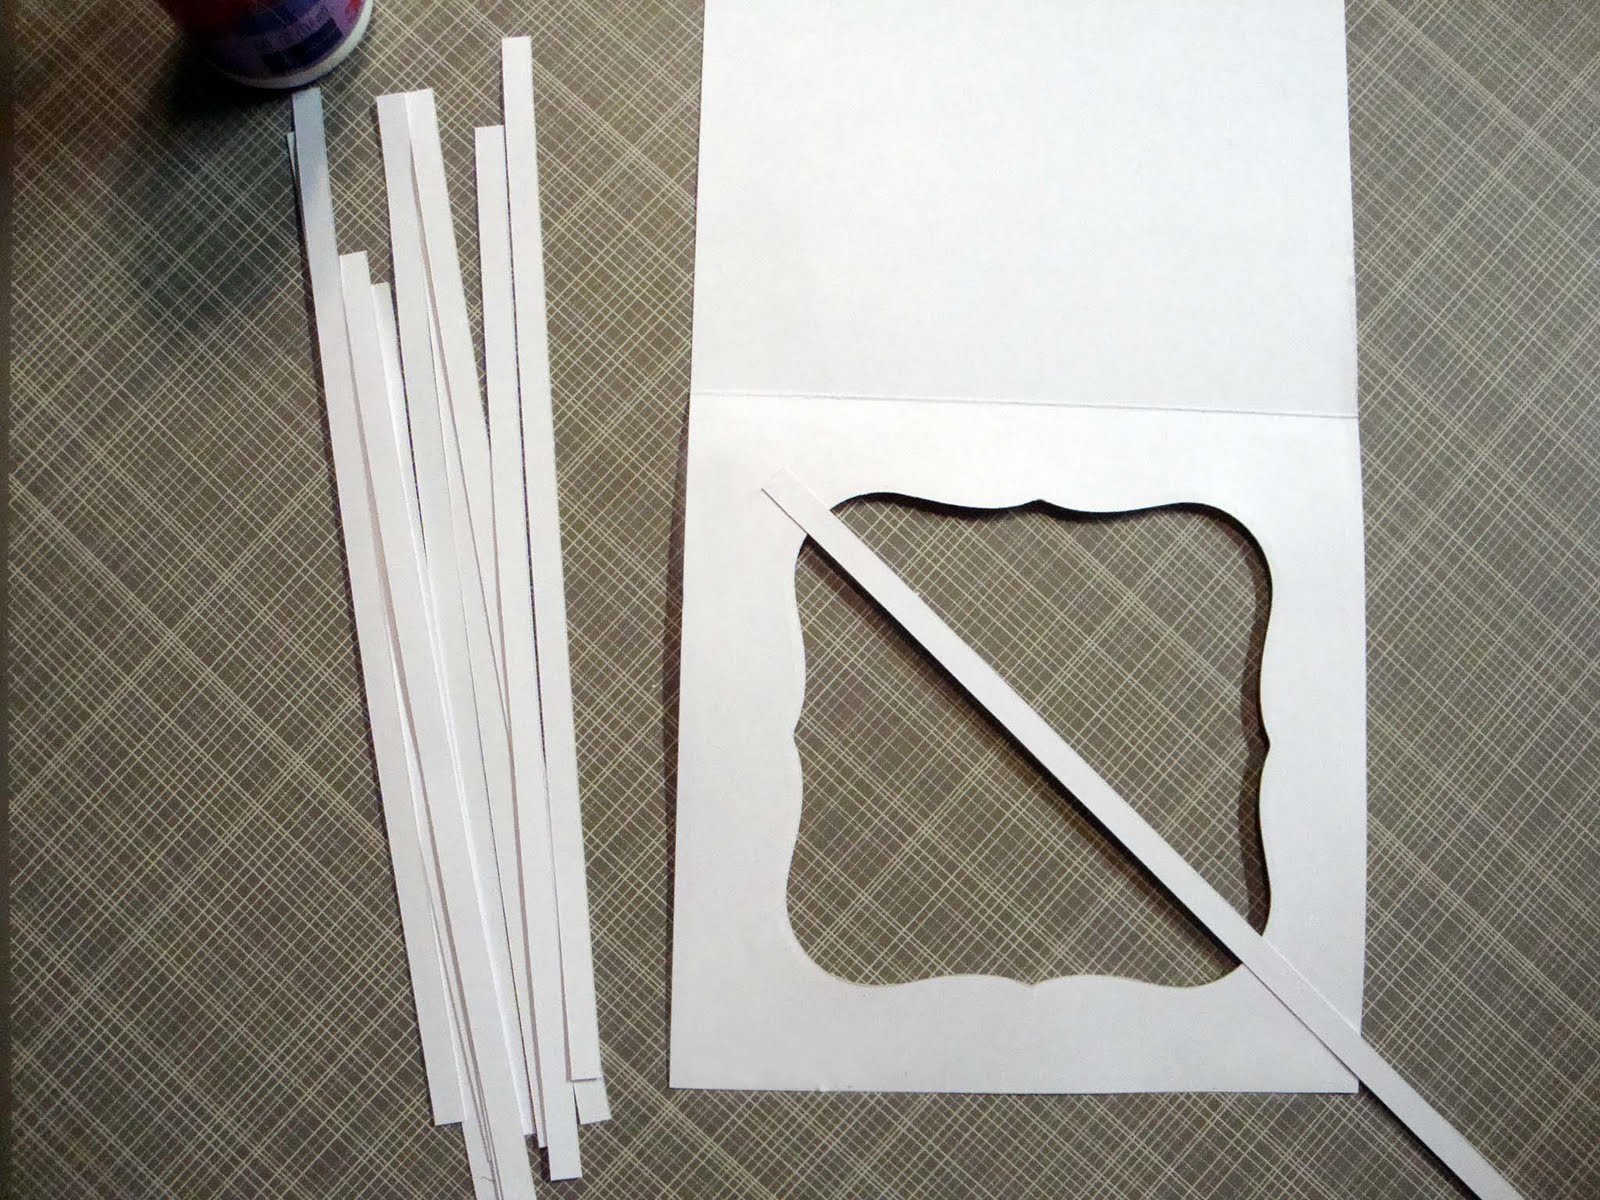
1) Cut through one side of the cardboard to create the opening of the bracelet.

You may want to bend and manipulate the cardboard to get a shape that will fit your wrist. If the cardboard comes apart a bit, this is okay, we are going to cover it!


2) Glue the small pieces to each end of the bracelet letting the ribbon hang over the edge about 1/8 of an inch. This will cover the ends of your bracelet so you can't see the cardboard. (NOTE: if you have a narrower cardboard piece you may only need 1 ribbon piece for each end.)


3) Take your 7 inch piece and adhere one end like shown in the picture above. (NOTE: if you want the wrapped ribbon to show, skip this step)


4) Take longest ribbon piece and adhere cross ways like the picture above shows.


5) Wrap the ribbon tightly around the cardboard base hot gluing the ribbon down as you go.


6) Take your 8 inch piece and begin adhering across the top of your bracelet. Do not go all the way to the end.


7) Now you will have to alternate adhering the ribbon until you longer piece is flush with the end of the bracelet like shown above.


8) Fold over end of leftover ribbon and adhere to bracelet.


The base of your bracelet is done!
You can leave it as is or embellish it like shown in the photo below.


Aren't these fun!?!
I think they would make an adorable gift and the best part is it's up-cycled!!

Thank you for stopping by for Thursday's tutorial here at Papercraft Star!
Come back by tomorrow to see what our Lovely and Talented Jan has in store for you for the executive design team reveal!

June 9, 2011

Thursday's Tutorial from Kim !!


Hi everyone! Kim here to share with you another tutorial for quick and easy flowers using scrap pieces of gift wrap tissue paper. If you're like me, you may have plenty of tissue paper leftover from gift wrapping. If so, these quick and easy spiral flowers are a cinch to create and will use up some of that tissue paper you may have been holding on to!


So let's get started!

Supplies:
Tissue paper
Glue
Scrap Paper
Glimmer Mist (optional)
Bling (optional)


Step 1. Take one sheet of tissue paper and fold into three of four layers. Cut the layers into strips approximately 1" wide. Measurements do not have to be exact - just eyeball it.


Step 2. Twist each stack of layered tissue paper. Spray with Glimmer Mist (optional way to color white tissue paper).


Step 3. Roll each piece into a spiral.


Step 4. Punch out 1" circles and glue onto the back of the spiral tissue paper to provide support.


Step 5. Cut tissue paper into the shape of leaves. Spray with Glimmer Mist and adhere to back of spiral flower. Add a piece of bling to the center of the flower.


Now your flower is ready to embellish any of your papercraft creations! I hope you have fun creating your own version of these little flowers! If you create one, I'd love to see it. You can stop by my blog to share what you've created.

Link up between now and Sunday evening, 9pm (Eastern, US) for a chance at our weekly and monthly prizes !!

June 2, 2011

Thursday's Tutorial from Jan !!

Hi Everyone !! Jan here today with a short tutorial on storing your photos in Windows. When I was teaching college, I occasionally taught a class on records management - and I always stressed to my students it wasn't about storing your records, it was about being able to retrieve them later !

I keep a zillion pictures on my computer, and I bet you do too. If you are not real computer savvy, this should help you get going on an organized file system. I can always put my finger on a picture almost instantly, and I can credit any pictures I have downloaded by naming my folders. If you are a scrapbooker, you can use folders to organize the photos you haven't managed to scrap yet.

Here is what my picture gallery looks like when I open it.

My photos automatically come up in a date folder. You can move your photo to another folder (I put all my blog pictures together) by simply dragging and dropping into the folder.

When I open my blog photo folder, it looks like this, with all the pictures in folders according to date.

You can sort them other ways too, by clicking on "arrange by..."

To make a new folder, click on "new folder" - how hard is that.

Double click the name on the folder (it is called new folder, very creative), and you can rename it by typing in the blue space below.

Hope this will help you sort your photos just the way you want them. You should have no trouble finding anything again !!

May 26, 2011

Summer Re-Runs at Papercraft Star with Kristina Harmon

The mild weather is finally upon us in the United States and we're arranging our schedules and Design Team commitments for the summer months (so that the Design Team can have a bit of a break now and again).... so just like on television, we'll be playing some "re-runs" during the summer and until our new Design Team starts in September. 

These re-runs are actually tutorials that the lovely Kristina Harmon shared over at The Kraft Journal earlier this year... but in case our followers here at Papercraft Star missed them, we are going to play a few for you on our Thursday tutorial days!  We hope you enjoy them!

Today Designer Kristina Harmon shares a sweet Matchbook project perfect for Valentine's Day.  Enjoy!


Remember, there is still time to get in on our current challenge here at Papercraft Star this week too!  Check out the link in our top right sidebar to learn more and enter your project too!!

May 19, 2011

Thursday's Tutorial from Regan !!

Hi all, Regan here to share a fun and much requested tutorial with you. Today I am going to share with you how I adhere photos and patterned paper onto the Tim Holtz fragment charms to create fun and personalized charms. These charms are great for charm bracelets, mini albums, swivel clasps and even key chains! Below you will find the video tutorial.


To see fun projects you can make with these great charms, please visit my blog Emora Designs.

I hope you enjoyed today's tutorial. Please stop back by tomorrow to see the wonderful executive reveal from Beth.

Thank you for stopping by!
Regan

May 12, 2011

Thursday's Tutorial from Tracy !!

Hi all! Tracy here with this week's tutorial for Papercraft Star. I don't know about you, but I'm always searching the web for new techniques. A while back I created a card with some lattice work on it. It came out okay, but I was really winging it when I put it together. I found a tutorial that showed me a few minor adjustments I could make so I decided to try it again and share a refined version of a lattice work card with you.

For my card I chose to make it a 5 1/2" square card. I cut that from white cardstock and I also cut another square of white at 5 1/2" x 5 1/2". For the front mat I chose a cream colored cardstock and cut it at 5 1/4" x 5 1/4". I placed glue around the outer edges of the cream piece and adhered it to the front of the base card. The white square goes on the inside behind the front panel. It will hide all the edges of the lattice strips.


I placed a little Two-way glue pen on the edges of the white piece and let it get tacky so I could temporarily adhere it to the inside of the card for the die cutting. I used a Cuttlebug and a Nestabilities die and I have to admit it was tough cutting through three layers of paper. I ended up removing the top two layers after they were cut through and replacing the die over the last layer before it would completly cut through. You can avoid that problem by eliminating the mat.
I used a Nestabilities Labels One die and positioned it on top of the three layers, tacking it down with a little tape.
Here's what the pieces look like after cutting. By the time I'd run it through the Cuttlebug so many times the Two Way glue had become permanent and I had a few rough spots on the card base after I separated them. It all gets covered up so no harm no foul.
Now you can start weaving your lattice. I cut 1/4" strips of white cardstock. I started in the middle of the shape (by the way you can use any shape you want) and tacked the ends down with a little wet glue.
There is no set spacing or number of rows. I just settled on a random line on my quilting square grid ruler and used that measurement on all the spacing. Go ahead and lay all your strips down for the first direction.
After your first strips are adhered you need to start weaving in the strips going the opposite direction. Make sure you alternate them like I've indicated on the photo.
After you have all your strips adhered, you will adhere the white cardstock square that you die cut to the inside of the front of the card. This covers all those little strip ends.
I ended up adding a cream square cut at 5 1/4' x 5 1/4" behind the lattice work because the backs of all my flowers were visible and I'd used some brads--messy!
Hope you like the tutorial. This is the card I created using this technique.
Happy crafting!

Tomorrow's Executive Reveal comes from Kristina - she always has a treat for us !

Don't forget to link up your submission - entries are open until Sunday, 9 pm Eastern US !!

May 5, 2011

Rolled Flower Tutorial with Jennifer

Welcome to Thursday's Tutorial at Papercraft Star with Jennifer

I know you're probably wondering what Jennifer is going to show you using a roll of tinsel, a scrap bin, and two pairs of scissors, right? These simple tools are all you need to make some lovely, rolled flowers. Quick and easy without expensive dies!

To start, you'll need something round with a 1.5-2" diameter (that's where the tinsel roll comes in!) to trace circles on your paper.


Once you've got your circles traced, take some scissors and cut them out. I like to use a scallop scissor for one type and a straight-edge scissor for the other. I'm sure you could probably use pinking or other shaped scissors for a lot of different looks!
Don't worry if your circles aren't perfectly round or exactly on the tracing - the lines are really just a guide.
Cut the circles into spirals and start rolling the flowers from the outside in.

Glue the bottom of the flowers with some quick-dry adhesive or if the glue takes a bit longer to dry, use some of these great clamping forceps. I have 3 pair in my craft room and love them!

Follow the same process for the straight-edge scissor flower.

Finish them off any way you'd like - I personally like pearls but I've seen little stamen on some and I'd imagine rhinestones would be pretty, too.

I hope you give it a try - I know you'll like the results!

Thanks for joining us today for Jennifer's tutorial.  Don't forget you still have plenty of time to join our challenge for this week... for details, click here.

April 28, 2011

Thursday's Tutorial from Kim !!

Hi everyone! Kim here today to share with you how I created a little mini notebook using just a few scraps of paper. Trust me - it's easier than you'd think!


Step 1. Cut out two pieces of scrap paper 6 1/2" x 3" - one solid cardstock and the other patterned paper. Score both pieces at 3 1/8" and again at 3 3/8" - this will create the seam backing for your notebook.


Step 2. Add glue or some type of adhesive to the solid piece of cardstock. Place a piece of ribbon across the top, then adhere the patterned paper directly on top to cover to the solid paper.


Step 3. Gather 3 sheets of paper. I used grid paper because of its unique pattern. Stack them all together and run through your paper trimmer to measure 3" x 2 3/4". Cut a strip of solid paper that measures 2 3/4" x 3/4" and fold in half. Add glue to the strip of solid paper and adhere to the side of the grid paper. This will keep all your papers together - especially if you use a generous amount of glue.

I used a small clip to hold all the papers together while the glue dried. I only waited about 3-5 minutes.


Step 4. Once the glue is dry, add another layer of glue to the outside of the strip of solid paper. Place it into the notebook cover and squeeze the binding together.


Step 5. I used my bone tool to add a small seam down the spine of the notebook. This allows the notebook to open up nicely. Plenty of space to write a sweet little note inside!


Now it's time to decorate! I added a simple piece of chipboard and used small sticker letters to write "Notes" on the front cover. Just tie your ribbon and you've created a nice little notebook ready to give to someone or keep for yourself!


Thank you Kim !

Tomorrow's Executive Reveal is with Beth - and don't forgot to link up your submissions to be eligible for April's prize !